UV printing quality control / BUYER GUIDE
Custom Printed Plastic Parts: A Pre-Shipment Quality-Control Checklist for B2B Buyers
Use this B2B checklist to inspect custom printed plastic parts before shipment: approved samples, placement, finish, handling, packing, and records.

Start with the approved reference
An approved sample defines the intended product better than a generic artwork PDF. It should identify the blank, artwork revision, print boundary, expected white or varnish layers, and accepted visual appearance. If the production lot uses a changed component, coating, or packing method, flag it before final inspection because the earlier reference may no longer be equivalent.
Inspect under a consistent light source and at a practical viewing distance. Separate critical functional areas—camera cut-outs, ports, speaker openings, alignment edges—from general surface appearance. Record findings with clear photos and batch references so that the supplier and buyer are discussing the same part.
| Inspection area | What to check | Reference |
|---|---|---|
| Component identity | Correct model, material version, and colour | Approved blank and purchase order |
| Artwork | Correct revision, content, and print boundary | Approved production file |
| Placement | Alignment to openings, edges, and locating points | First-off sample and fixture reference |
| Appearance | Colour, white opacity, varnish/gloss, scratches, pinholes | Approved visual sample |
| Handling | Agreed rub or use-condition observation | Test method agreed before production |
| Packing | Face protection, dividers, labels, carton readiness | Pack-out reference |
Use sampling and records deliberately
The appropriate sample size and acceptance approach depend on the order risk, component value, and buyer requirement. Decide before production who inspects, what is considered critical, which defects are cosmetic, and what information must be retained. A factory may inspect first-off pieces, in-process output, and finished packing; a buyer may add third-party shipment inspection. These checks work best when they use one shared acceptance brief.
For printed flat surfaces, look for artwork displacement, incomplete white areas, unexpected varnish coverage, colour shifts, dust marks, edge damage, and print in keep-out zones. Inspect packing too: even a well-printed panel can be damaged if finished faces contact each other during transit.
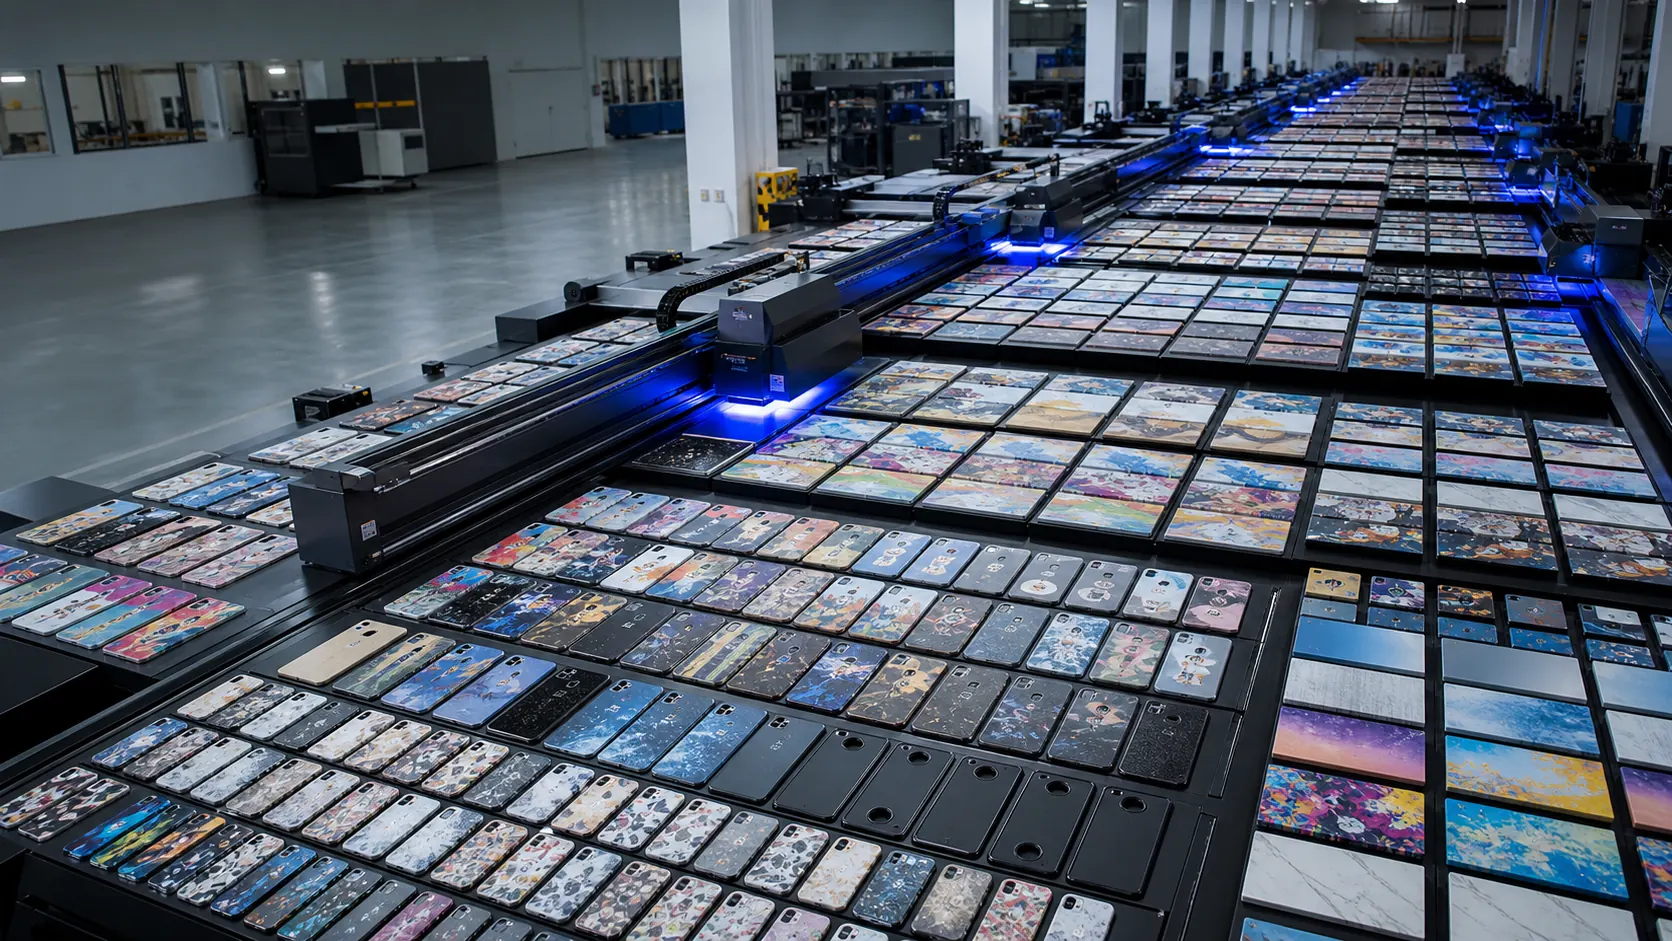
A practical pre-shipment sequence
- Confirm the approved sample, artwork revision, and component version.
- Inspect representative finished pieces for placement and surface appearance.
- Check defined functional zones and critical edges separately.
- Review the agreed handling or rub observation and record the result.
- Check protective packing, inner cartons, outer cartons, and quantity identification.
- Photograph the batch condition and retain a clear inspection summary before release.
FAQ
Is visual inspection enough for UV-printed plastic parts?
Visual inspection is essential but may not cover handling, packing, or product-specific adhesion concerns. Agree the additional checks that match the part's actual use.
What is the most important QC reference?
The approved production-equivalent sample, supported by the final artwork and inspection brief, is usually the clearest reference for colour, placement, and finish.
Should packing be inspected separately?
Yes. Face-to-face contact, inadequate dividers, or poor carton protection can damage otherwise accepted prints during shipment.
Technical resources and next steps
Continue with our UV printable materials guide, supplier qualification checklist, and plastic-part QC checklist.
For independent technical background, review Epson's UV flatbed overview, Roland's smartphone-case handling guidance, and Mimaki's adhesion guidance. Validate every production decision on the actual blank and approved sample.
Continue your evaluation